
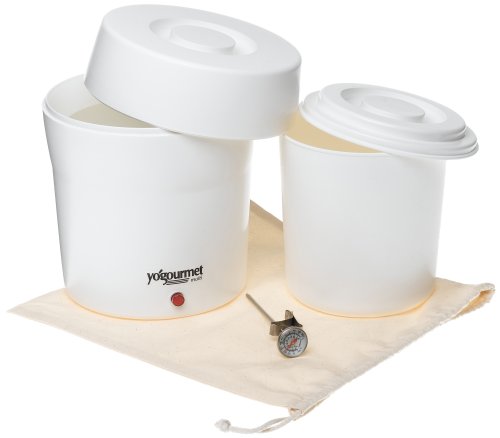
Yogourmet Electric Yogurt Maker
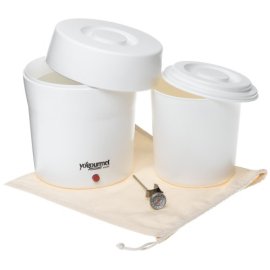
Yogourmet Electric Yogurt Maker
Features:
- Specially designed to maintain the ideal temperature required for preparing healthy, natural and perfect yogurt every time
- Perfect for anyone on the specific carbohydrate diet
- Has...
Searching Stores
Found at 0
Stores
| Store | Condition | Price | Total | Buy Link | Availability & Info |
|---|
GoSale may earn a fee when you follow links to make a purchase.
Last updated: April 26, 2024 at 11:11 EST. Pricing information is provided by the listed merchants. GoSale.com is not responsible for the accuracy of pricing information, product information or the images provided. Product prices and availability is subject to change. Any price and availability information displayed on merchants at the time of purchase will apply to the purchase of the product. As always, be sure to visit the merchant's site to review and verify product information, price, and shipping costs. GoSale.com is not responsible for the content and opinions contained in customer submitted reviews.